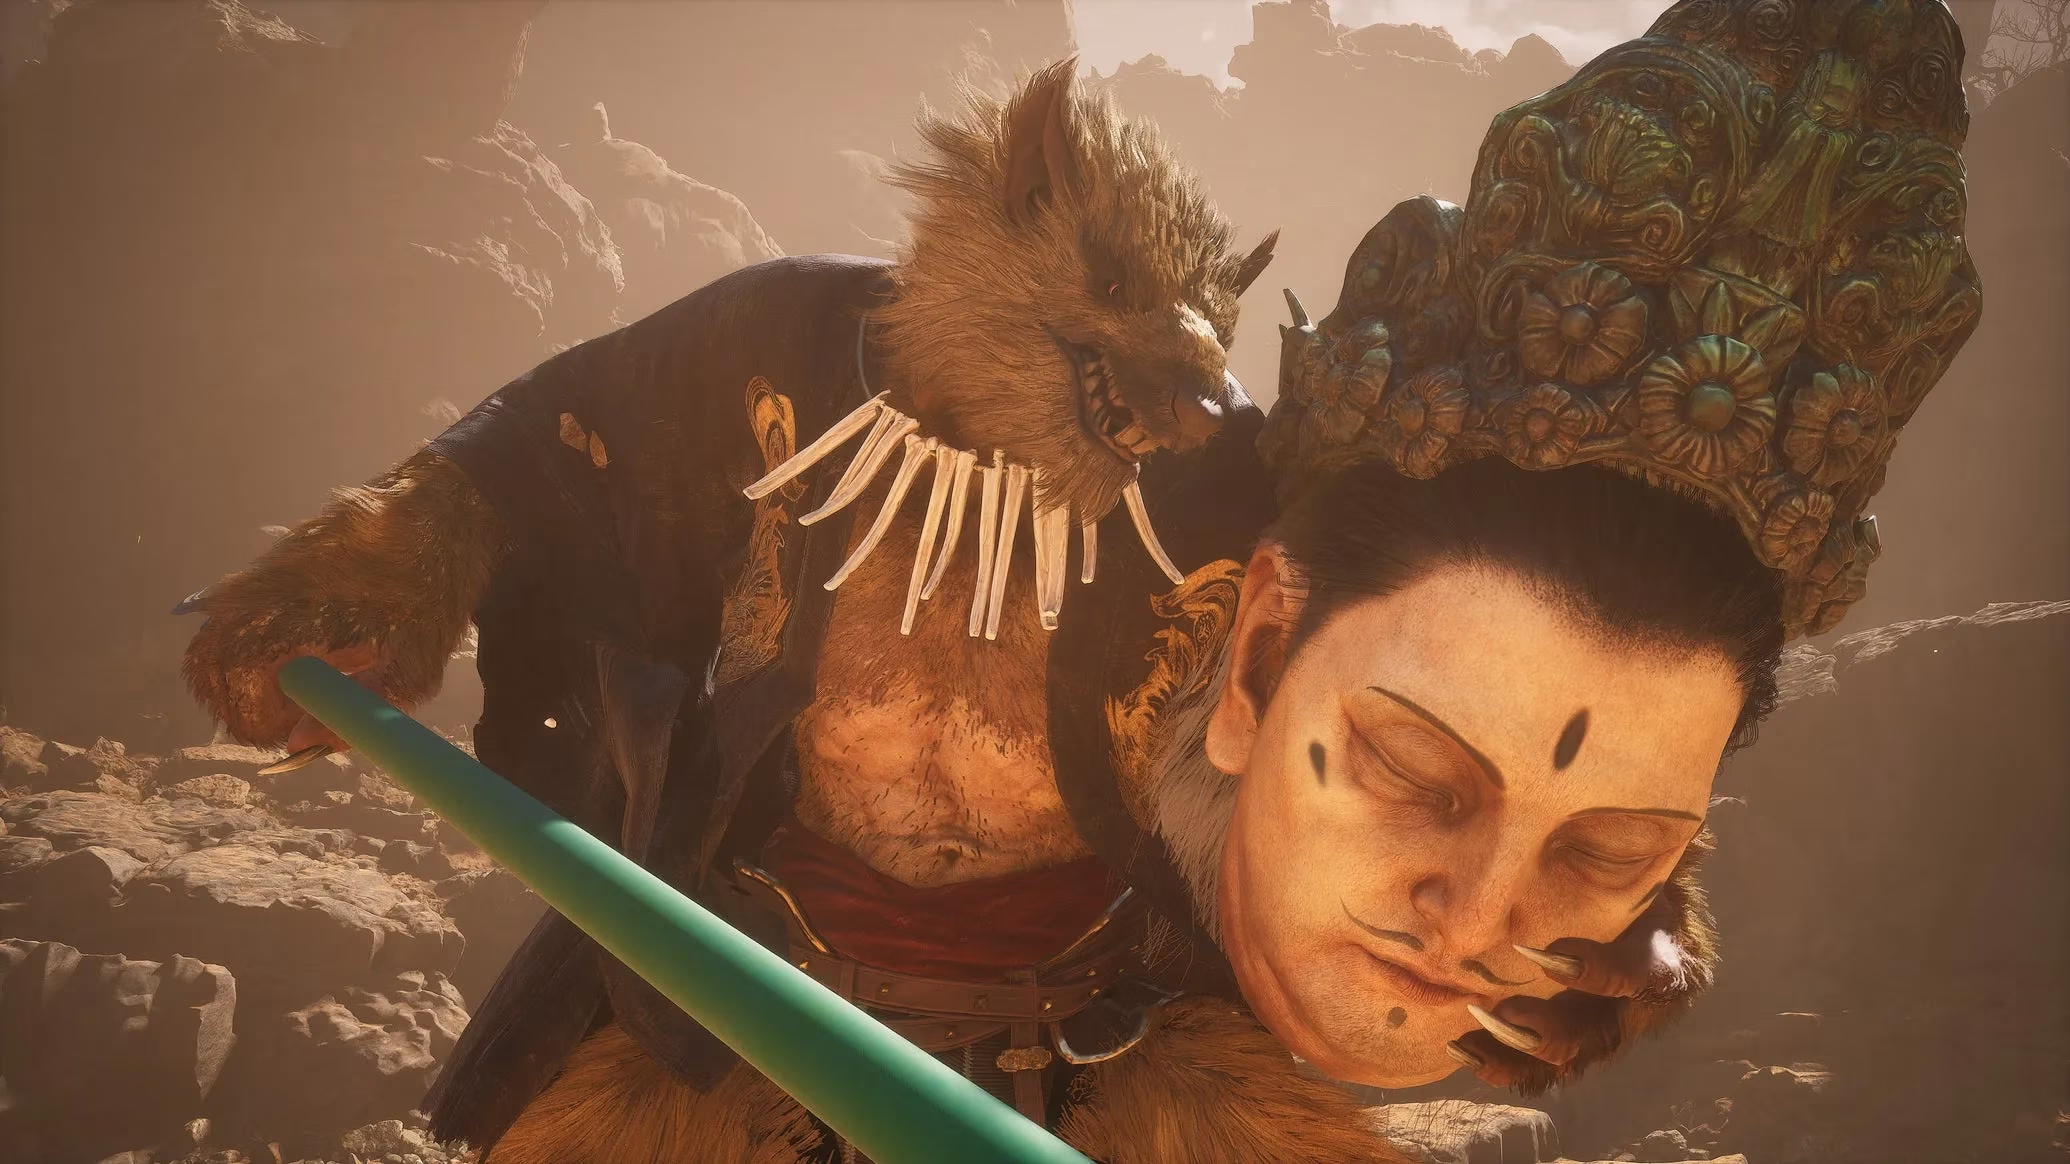
In the blustery depths of Yellow Wind Formation, a colossal rat lord waits with a trident in one hand and a shield that is literally the carved head of a statue. The Yellow Wind Sage is not just another Yaoguai King—he is arguably the cruelest gatekeeper of Chapter 2 in Black Myth: Wukong. After unlocking the path by defeating both Tiger Vanguard and Stone Vanguard, the Destined One steps into an arena where the wind itself seems to have a grudge. Make no mistake, this fight is a bruising wake-up call. But the wise player does not charge in half-prepared. There are secrets in this chapter that can tip the scales, and one of them feels almost mandatory.
Preparation: What to Do Before the Fight
The boss arena can be reached from two shrines: Windseal Gate or The Cellar. The gates leading to him require the Sterness of Stone and Keeness of Tiger, which means the player must have already conquered the Tiger Vanguard and Stone Vanguard. Defeating Tiger Vanguard also unlocks the Rock Solid spell, a parrying tool that costs mana but can create enormous openings. For this encounter, reallocating Spark points from Cloud Step into Rock Solid is strongly advised, especially into upgrades that reduce its cooldown and restore mana on a successful parry. The Smash Stance should also be upgraded so that Skyfall Strike is available, and the player should aim to build two Focus points before spending them.
Additionally, if Xu Dog's side request was completed earlier—by defeating the optional frog boss Lang-Li-Guhh-Baw—he will appear at The Cellar shrine. He allows the player to craft Celestial Medicines with Mind Cores, permanently boosting maximum health, mana, stamina, defence, and resistances. Those permanent boosts make a real difference against a boss who punishes mistakes so harshly.
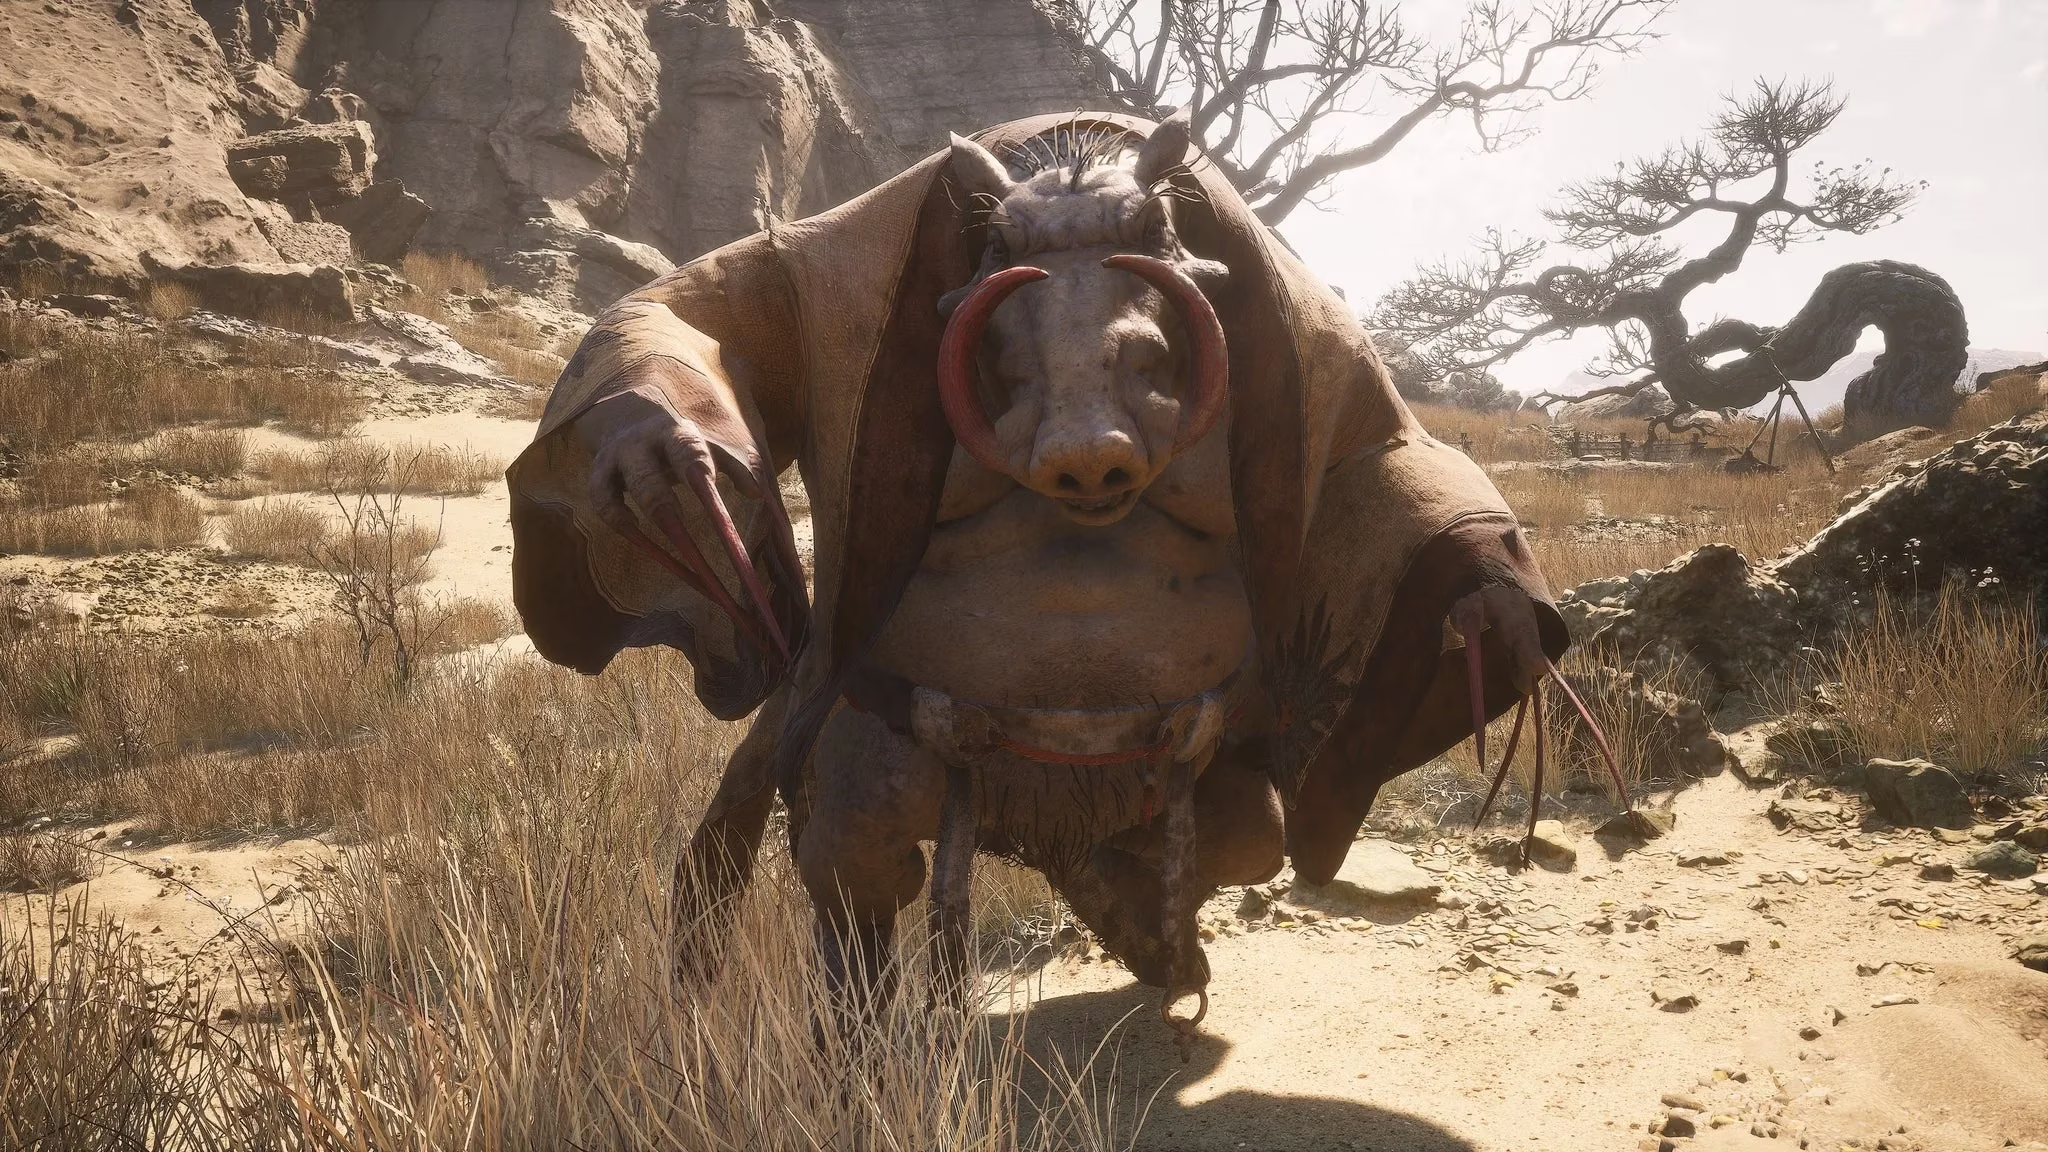
Yet the single most important piece of preparation sits behind the pig's side quest near Rockrest Flat. Completing that questline unlocks a secret area, a secret boss, and—most crucially—the Wind Tamer Vessel. It also grants access to the superior Insect armour set for extra defence. The Wind Tamer becomes a lifesaver in the later stages of this fight. Skipping it is, well, a choice. A painful one.
How the Fight Unfolds: Three Phases of Wind and Wrath
Phase 1: The Trident’s Dance
In the first phase, the Yellow Wind Sage relies on his trident, swinging big, heavy combos that are fast and wide. Dodging is essential, though standing close to his side can sometimes cause those wild swings to miss. The most dangerous moments come when he ends a combo with a horizontal slash or vertical slam, because phantom tridents erupt from the ground in a wider spread and deal heavy damage.
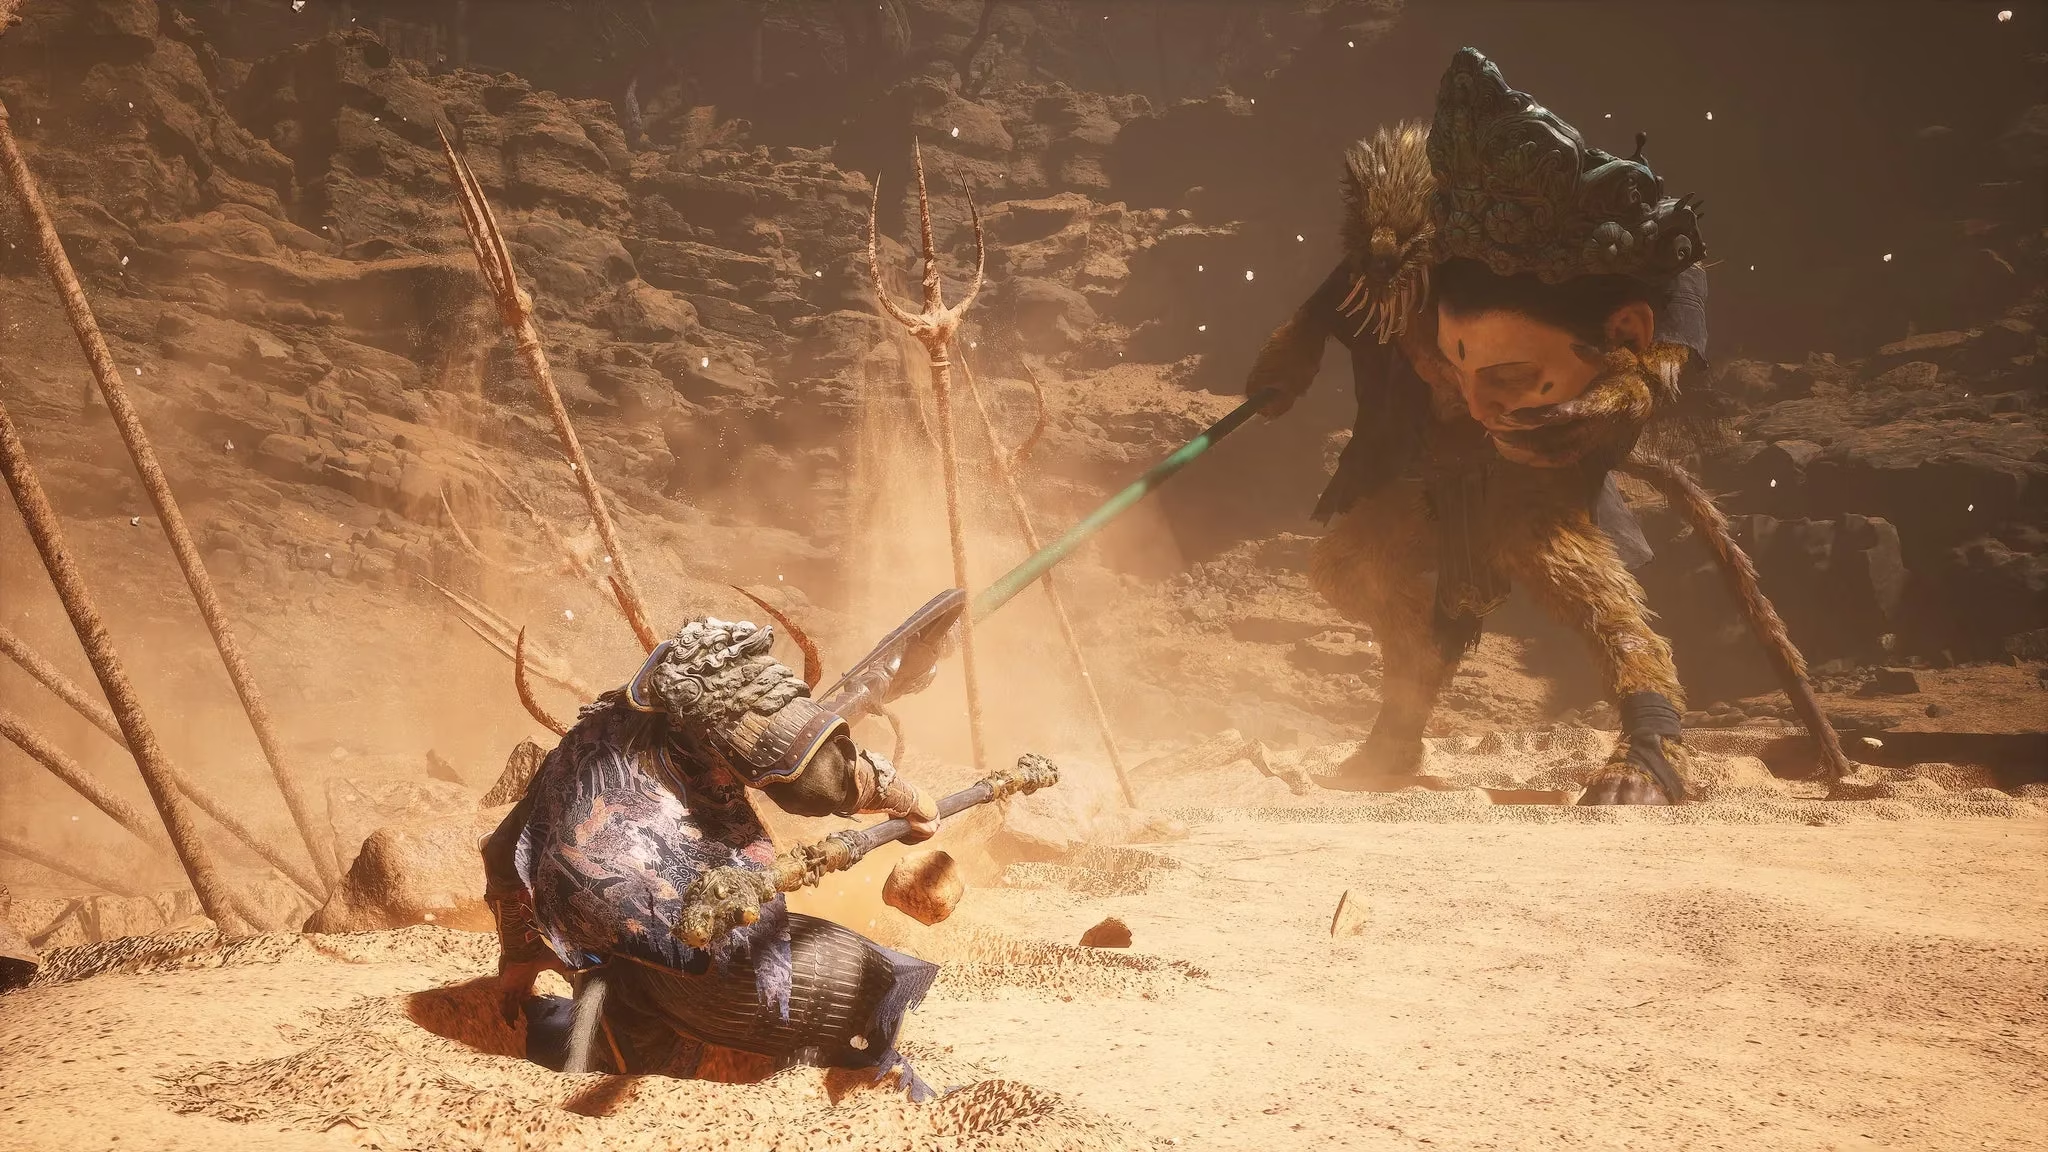
A reliable opening in this phase is to use Immobilize during one of his attacks, then pile on light attack combos to build focus. It is best to use the spell only once here to conserve mana. If the Wandering Wight spirit is equipped, its transformation can stun the boss for another window. Rock Solid is not recommended in this phase because his erratic swings can sometimes miss, putting the parry to waste. Instead, the player should dodge, strike when there is an opening, and build two focus points. Ending a combo with a heavy Resolute Strike followed by Skyfall Strike can stun him long enough for extra hits—though the sage occasionally backsteps away just before the Skyfall connects.
Once a third of his health is gone, the Yellow Wind Sage stomps the ground and swings his trident around like a tornado four times. Visibility drops, the wind picks up, and phase two begins.
Phase 2: The Sand Spectre and the Roaring Wind
This phase is where the fight gets mean. The boss sometimes transforms into a sand spectre, and attacking him in that form is a waste of energy. He first runs toward the player while phantom tridents burst from the ground, then swings his trident three times. Next he disappears and reappears, leaping over the player from one side and then the other with swing attacks. The sequence ends with him returning to physical form from behind, raising one leg high and bringing it down as a brutal stomp.
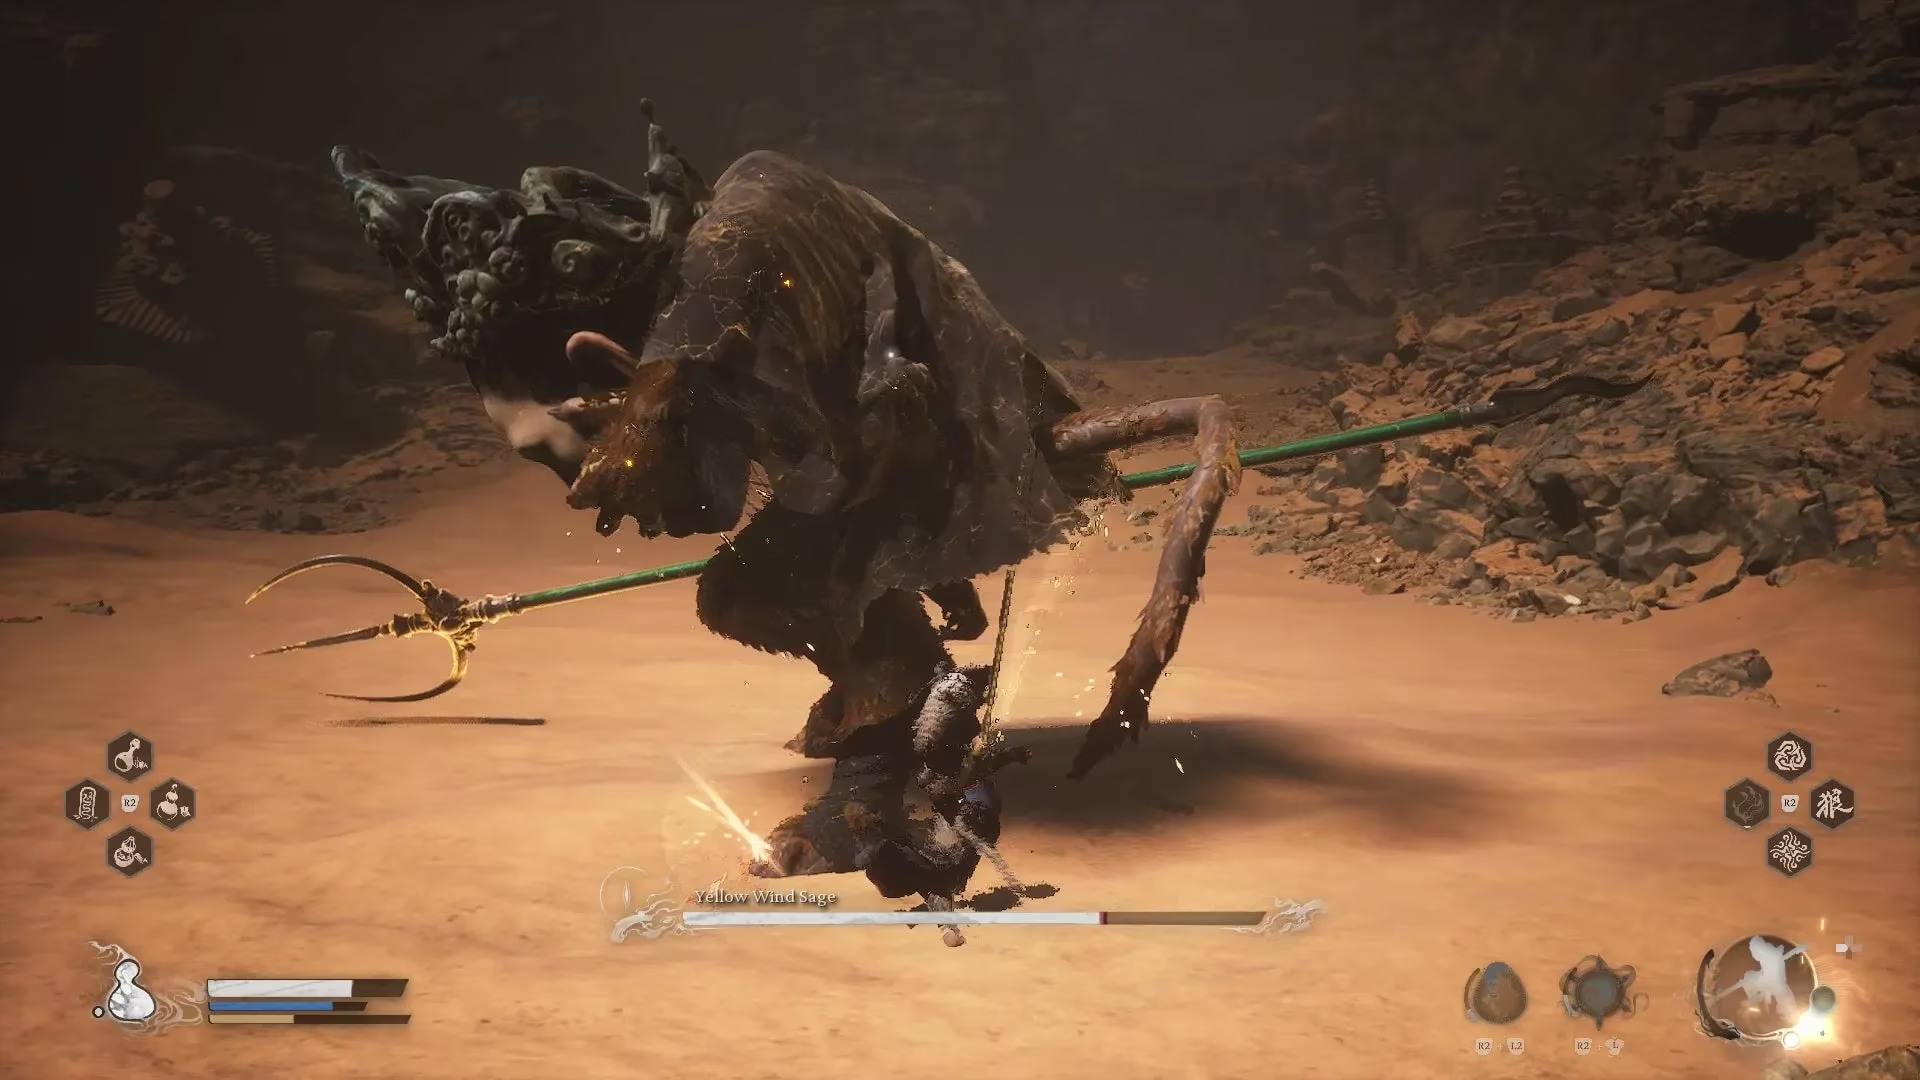
That raised stomp is actually a gift if Rock Solid is ready. A successful parry can knock the huge rat onto his back, handing the player a free combo. Building two focus points during that window and ending with Skyfall Strike can knock him down a second time. However, the running kick is a different story. He punts the player into the air, launches his trident to pin them to the ground, then grabs them for a vicious follow-up. This sequence can almost delete a full health bar. Yes, that kick can be parried, but it does not knock him back, so it is often smarter to keep some distance when he looks ready to deliver the boot.
There are still trident attacks to respect. One AOE move sees him plant the trident in a glowing spot, causing a sparking explosion around him. From range, he may charge the trident, swing it, and slam it down, releasing a shockwave trail of phantom tridents. The trick is to delay the dodge until the trident hits the ground. Rock Solid works well against ground-based swings, but not against his jumping attacks. The giant insect Fuban may also appear from the air and drop onto the player; a simple dodge just before impact is easier than trying to parry it.
Phase 3: The Tornado’s Fury and the Wind Tamer
When the Yellow Wind Sage drops to his final third of health, he summons a full-blown tornado into the arena. It damages the player and flings them into the air, all while the boss continues his usual onslaught. This is, frankly, absurd—unless the Wind Tamer Vessel is in hand.
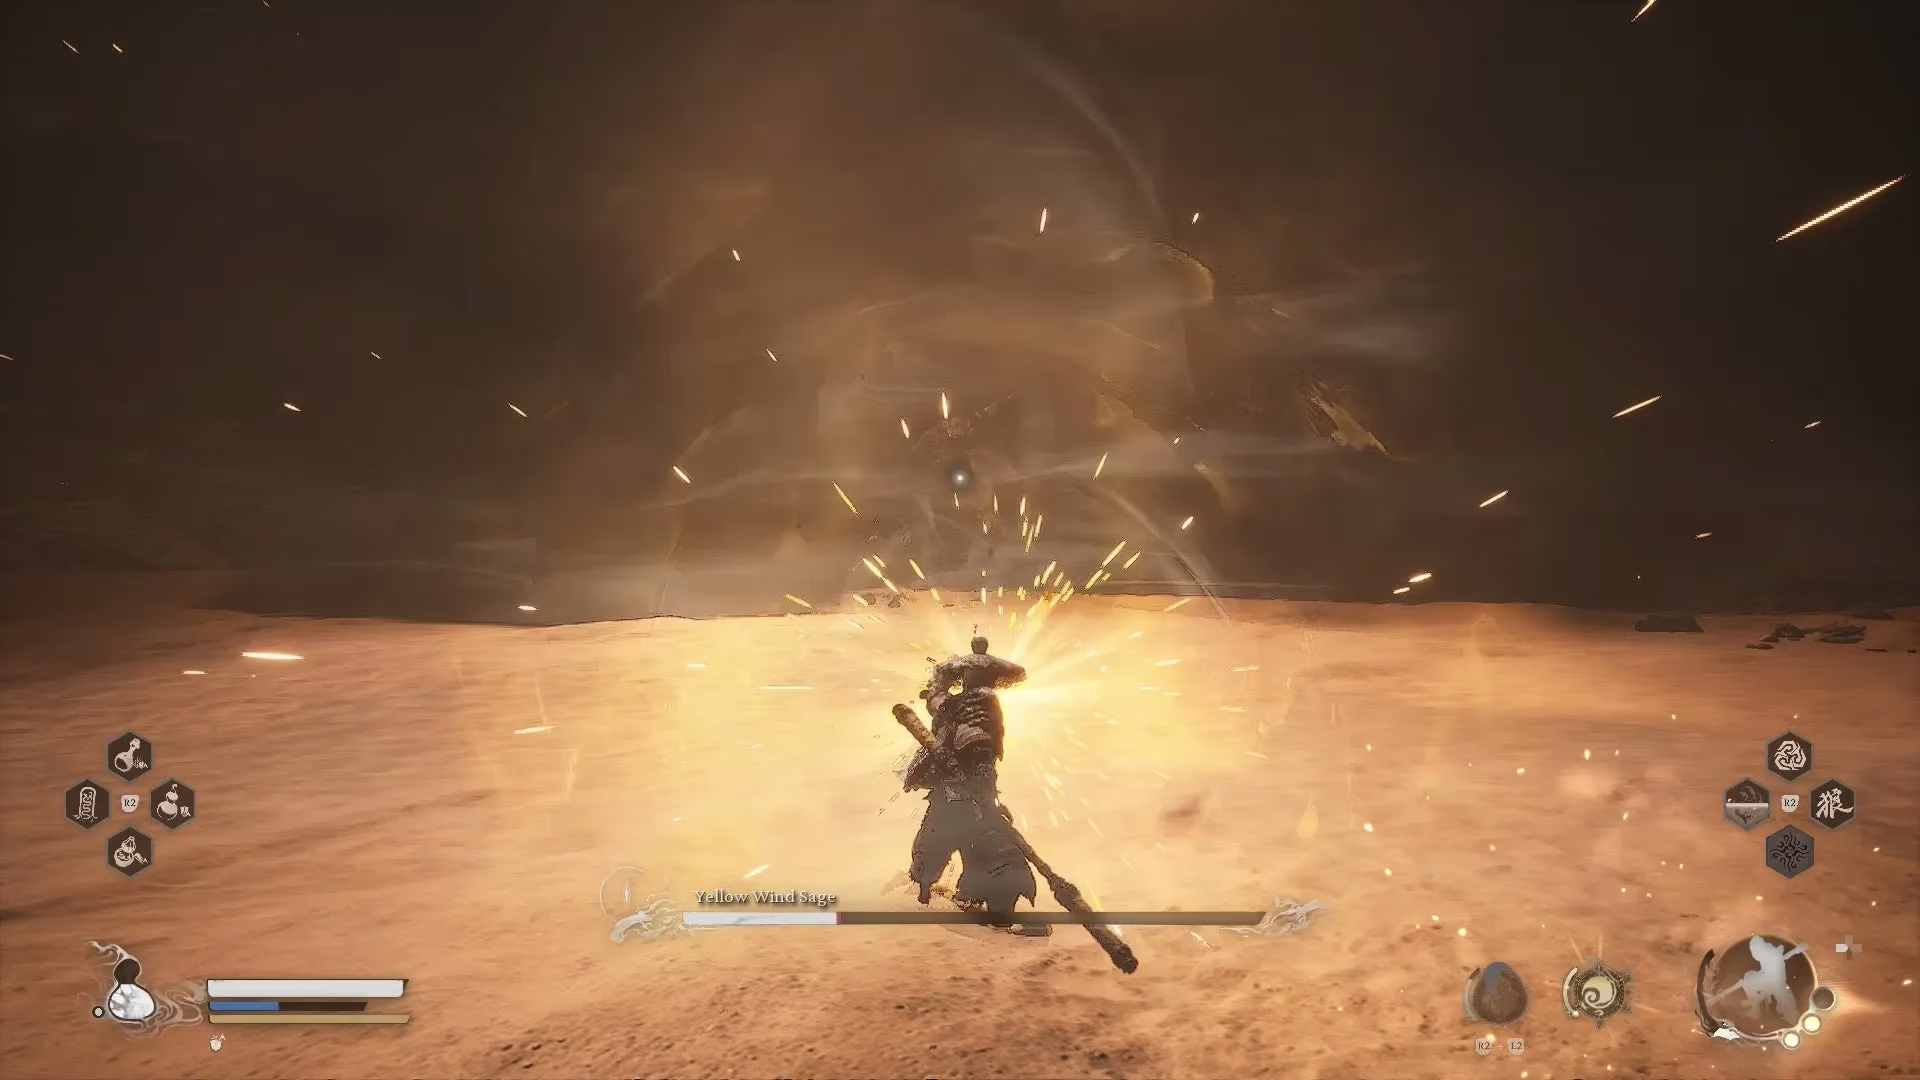
Activating the Wind Tamer disperses both the wind and the tornado, briefly stuns the Yellow Wind Sage, and grants a temporary defence boost. That is the moment to rush in, unload a free combo, and drop a focus-heavy attack. After that, the player still has to respect his regular attacks, but with clear visibility the fight becomes far more manageable. Saving a transformation for this phase is also wise, because transformed forms have their own health bar and can absorb damage while dealing the final blows.
Rewards for Bringing Down the Rat Lord
With the Yellow Wind Sage defeated, Chapter 2 comes to a close. The player receives the second Relic, Fuming Ears, which offers one of three boons:
| Boon | Effect |
|---|---|
| All Ears | Extends the invincibility duration of the first move of all varied combos |
| Sounds as a Bell | Narrows the window of Rock Solid parries |
| Whistling Wind | Temporarily increases attack after a perfect dodge |
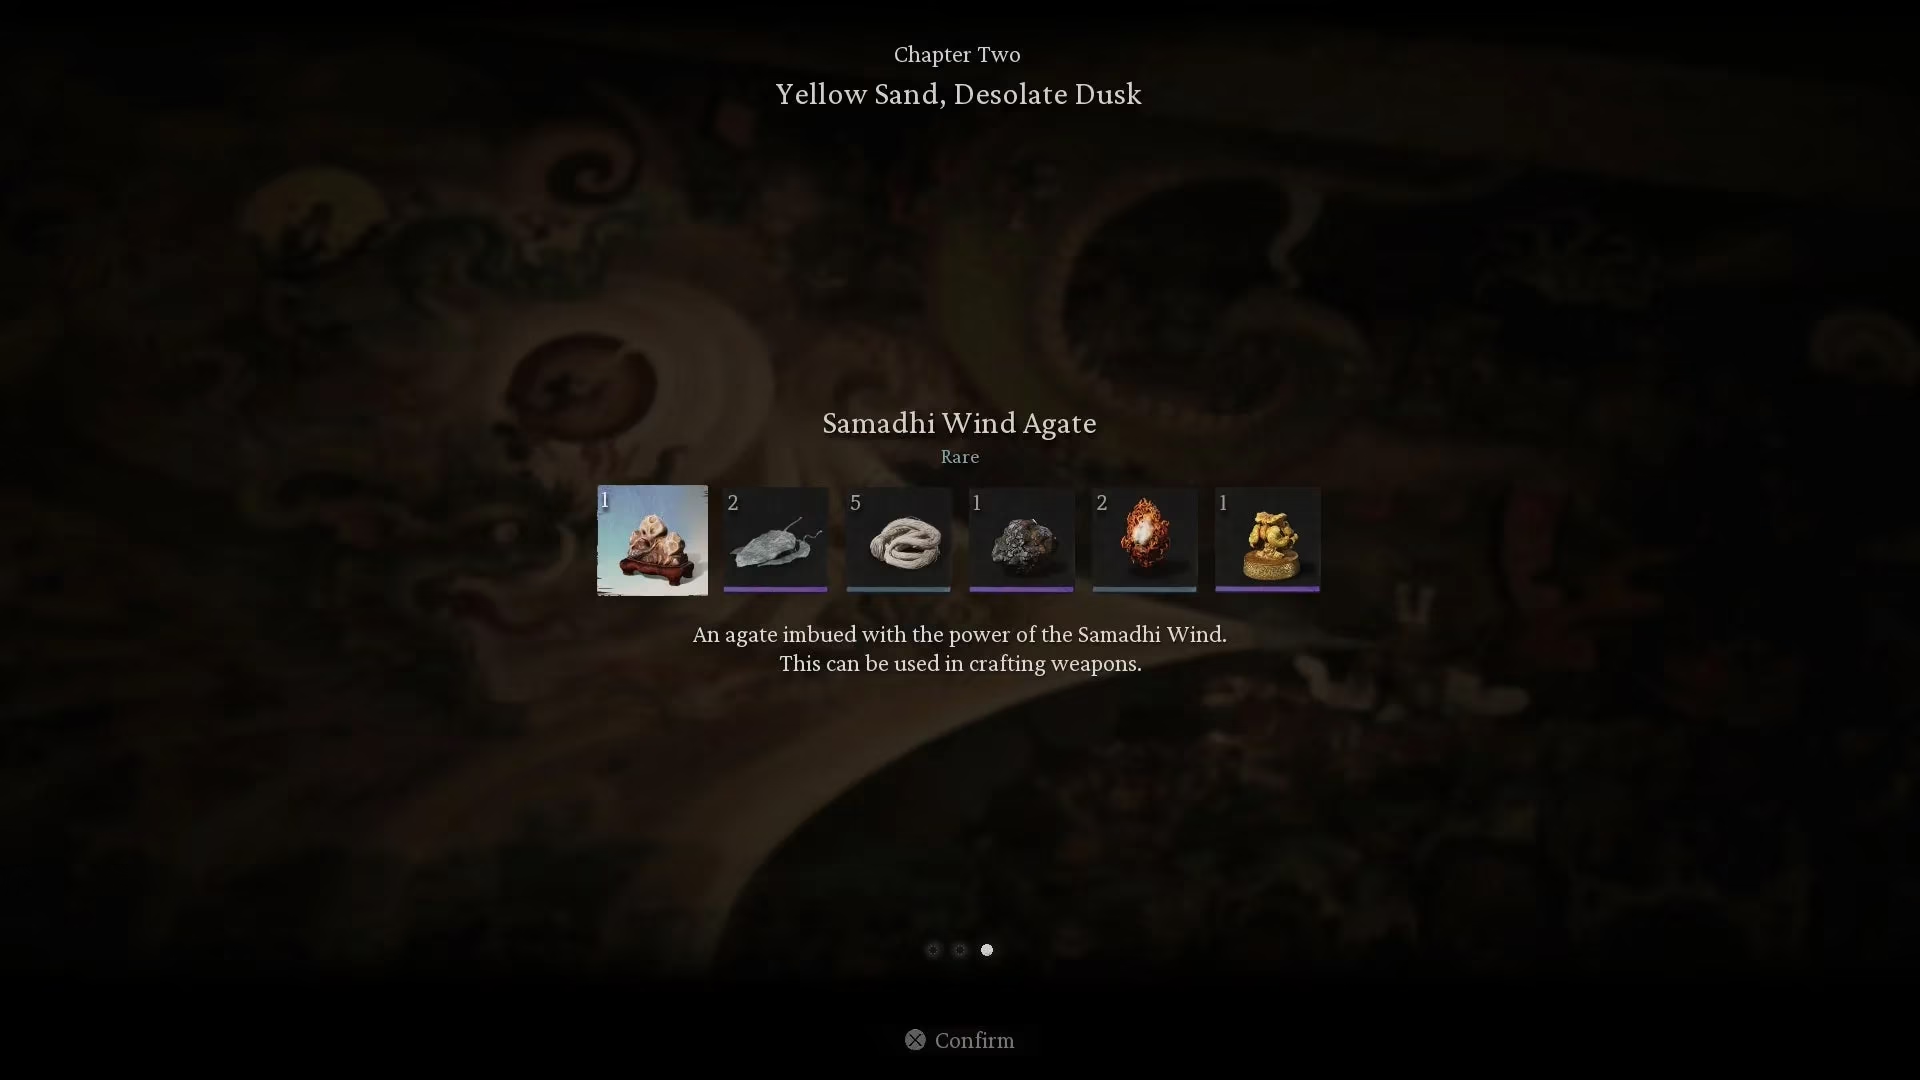
In addition to the Relic, the spoils include:
-
2583 XP
-
1944 Will
-
1x Samadhi Wind Agate
-
2x Yaoguai Core
-
1x Refined Iron Sand
-
2x Cold Iron Leaves
-
5x Silk
-
1x Mind Core
With the wind finally calm and the rat lord fallen, the Destined One can leave Yellow Wind Ridge behind. Chapter 3 awaits, and the journey is only getting started.