I still don't know what I did to deserve Elder Jinchi. In my 2026 run through Black Myth: Wukong, I rang three spooky bells, got sucked into the Secret: Ancient Guanyin Temple, and came face-to-knee with a golden giant who looked like Wandering Wight after being dunked in a vat of turmeric and handed a grudge. The first time I walked through that main gate, he flattened me like a pancake left out for a very aggressive deity. But after enough deaths to finance a small monastery, I cracked the fight. Here is the full survivor's account.
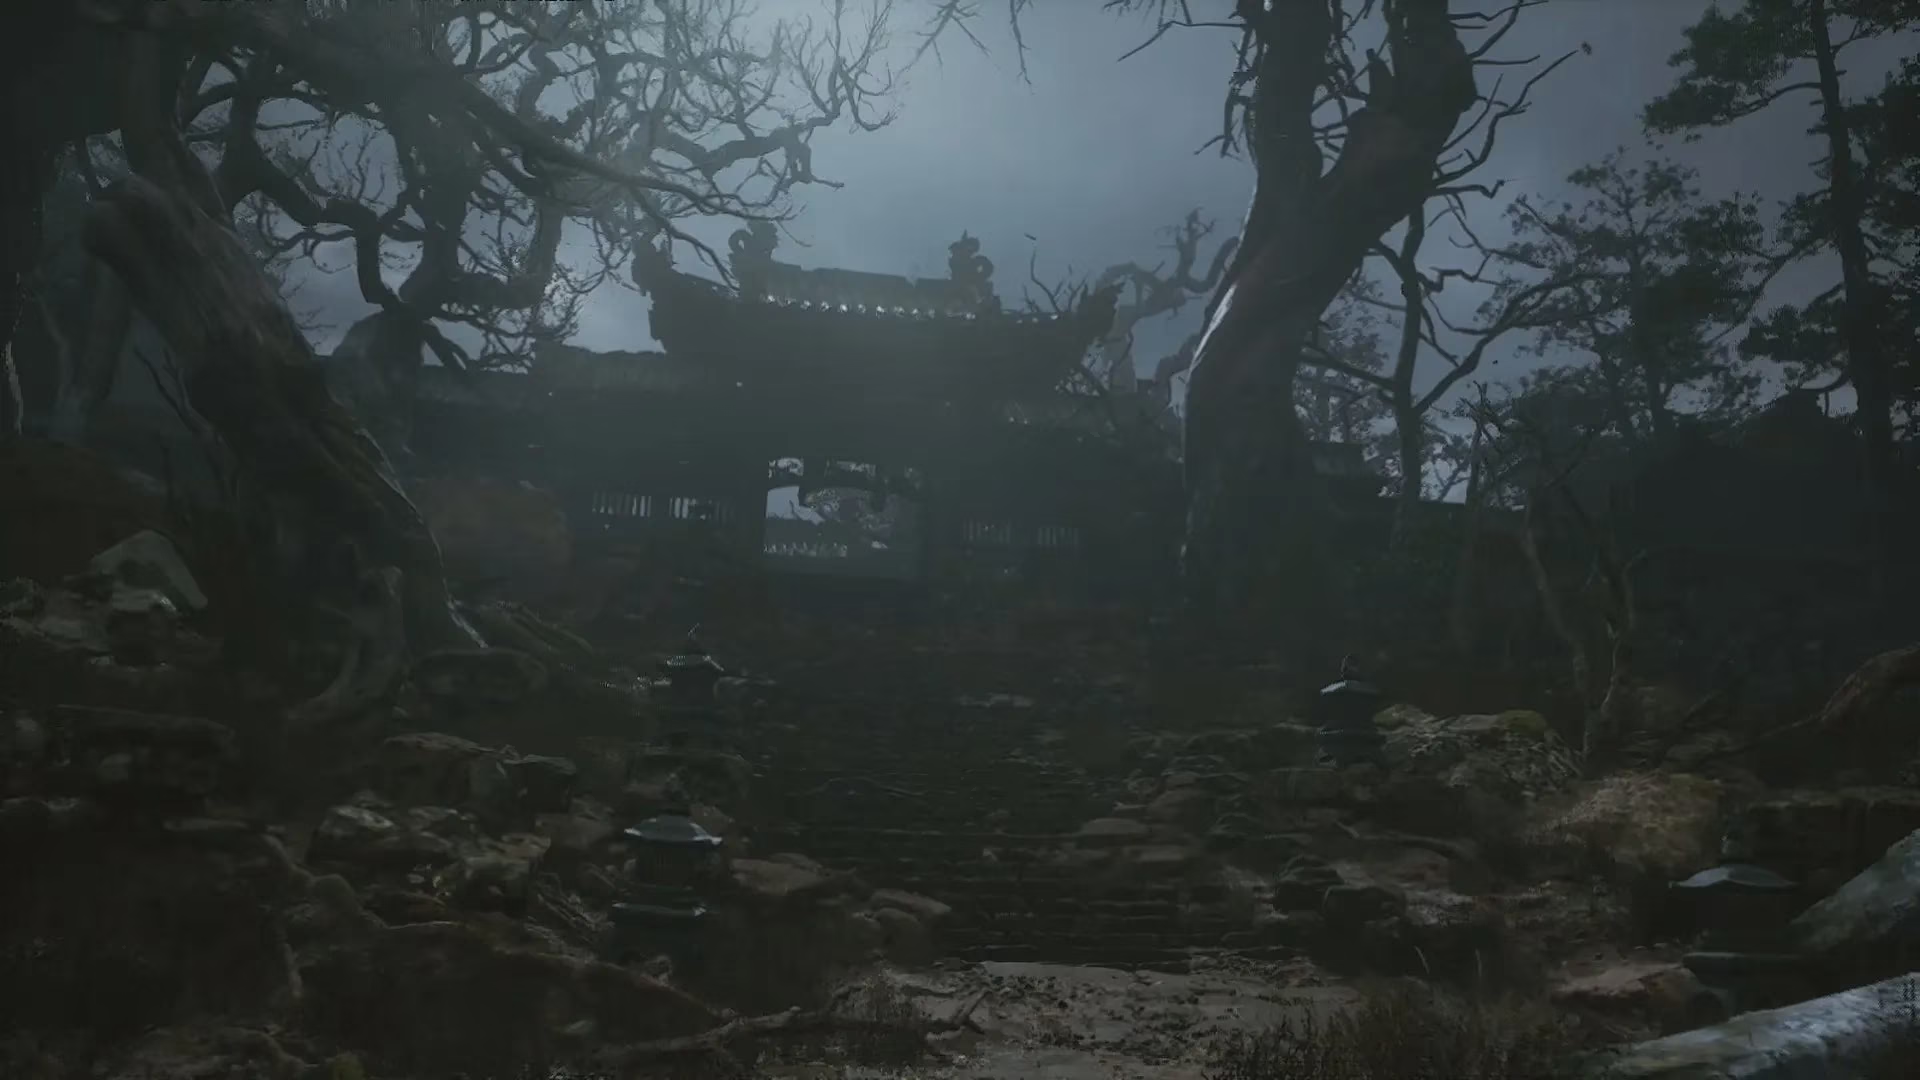
Before you even think about challenging this shiny monk, make sure you have done your homework. The secret area only opens after you interact with the three bells on Black Wind Mountain, and you will naturally have put down Guangzhi and Guangmou along that quest. Ideally, clear every Chapter 1 boss except Black Bear Guai first, because the reward here is built to make that final bear-shaped barbecue much easier. Spend your Sparks, craft the newest gear you can afford, and equip Wandering Wight as your Spirit for a nice defensive chunk. When you first arrive at the temple, poke around: there is a shrine called Grand Chamber and at least one chest containing the Curio Guanyin's Prayer Beads. Then open the main gate and try not to flinch when the doorman is a levitating golden boulder.
Reading the Gilded Grump
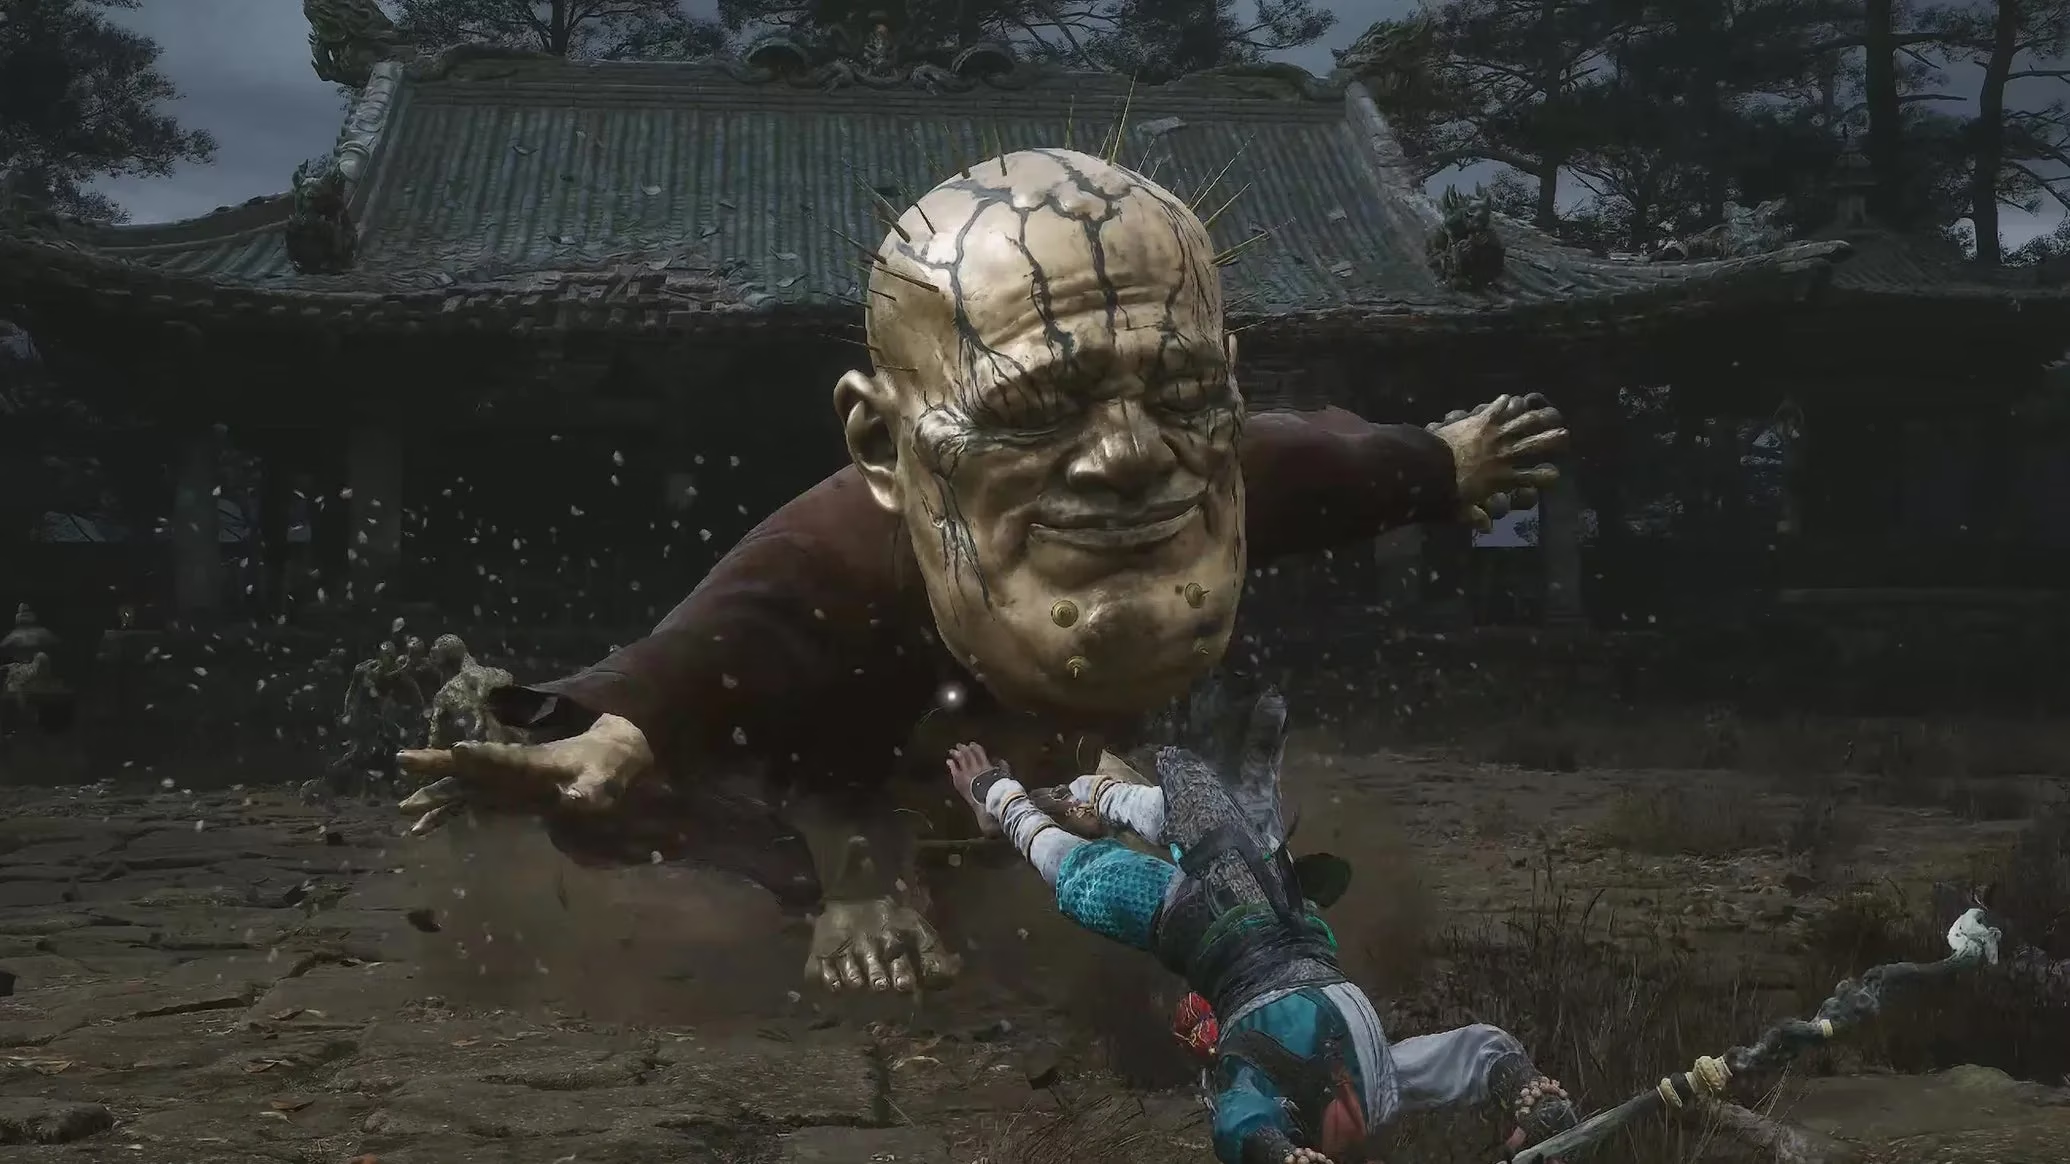
Elder Jinchi fights a lot like Wandering Wight, except someone turned both his hitboxes and his fashion sense up to maximum. Watch for quick arm swipe combos, an abrupt forward head slam, and a flying kick that arrives like an angry furniture delivery. His really nasty tools, though, have longer range. There is a charged palm blast where he winds his arm back as if preparing to throw a wedding bouquet made of pain, then fires it across the arena. And then there is the ground-based AOE: he slams one giant hand into the floor and keeps it there while follow-up shockwaves ripple outward. That attack gave me the same feeling as standing on a subway platform as an express train blows past, except the train is a monk's palm.
| Attack | Tell | What worked for me |
|---|---|---|
| Arm swipe combo | He cocks his arm sideways | Dodge sideways, not backwards |
| Head slam | Big skull lowers forward | Time a roll late |
| Fly kick | He launches straight at you | A well-timed sidestep works |
| Charged palm blast | Arm glows as he pulls it back | Sprint sideways or use Cloud Step |
| Ground AOE | Fist slams and stays down | Back off until he removes it |
When he starts charging either ranged attack, Immobilize or Cloud Step can interrupt the whole tantrum. Cloud Step becomes available if you have already beaten Black Wind King before this detour. A focused heavy strike can also knock the big doofus flat on his back, which is my favourite way to tell a secret boss that his parking is invalid.
The Disciples' Unpaid Internship
The arena is not empty. Elder Jinchi has a few disciples milling around like confused background actors in a low-budget temple horror. Early on, they die in one hit, and honestly I felt a little bad. That guilt vanished when the old monk yelled, “Bully an old man? Curse you!” and the interns all started glowing gold and waddling toward me like radioactive wind-up toys. They explode when they get close, forcing you to stop fighting the boss and sprint away like you have just insulted the catering at a dangerous wedding.
Phase Two: The Levitating Buffet
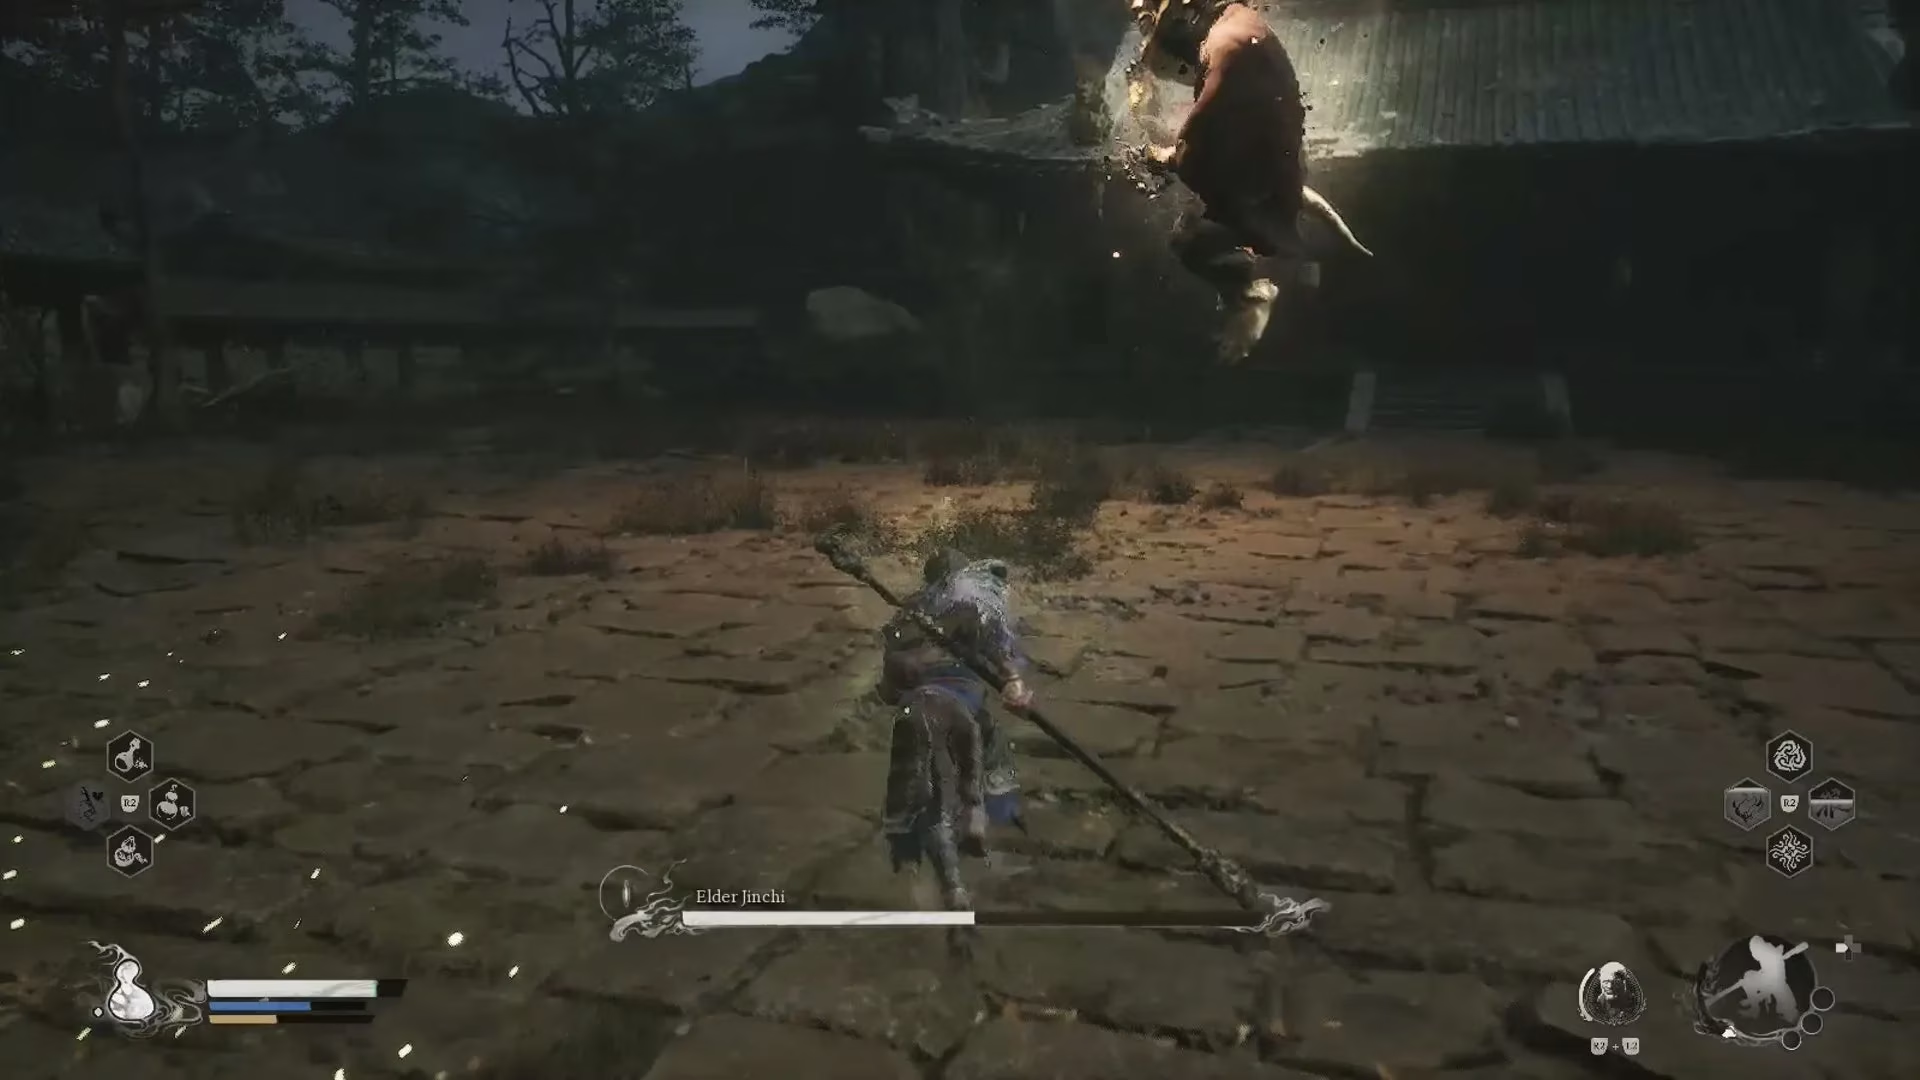
At half health, things go full ghost-story. Elder Jinchi lifts into the air, completely untouchable, while more disciples spawn from the shadowy edges of the temple. Your job stops being boss damage and starts being a demented game of whack-a-monk. Each disciple walks slowly toward their floating supervisor. If they reach him, he slurps them up and recovers health, which is the opposite of what my remaining health potions wanted.
Here is the twist that saved my run: killing the disciples also lets you absorb their lifeforce and heal. So if phase one turned you into a bruised piñata, save your gourd drinks and treat these glowing interns as mobile health snacks. The low visibility around the outer ring makes them tricky to spot, but near the end they tend to appear one after another in an anticlockwise pattern. Since they still die in one hit, you can hop from one to the next like a very stressed parkour courier. If you let too many reach the boss, he will climb back toward full health and you will get to enjoy phase two again from the top. Do not recommend.
Closing Arguments
Once he floats back down, he recycles his earlier moves, though he may also send another wave of exploding disciples after you. Do not rush his AOE; wait until he pulls his fist out of the ground, or you will eat the follow-up blast. If you are running low on health, remember that Guangzhi's transformation works as a temporary second life bar. I saved it for the tail end of the fight, mostly because transforming into a fiery polearm lad at the perfect moment feels absurdly heroic.
After you win, you get ejected from the secret area and dumped back on Black Wind Mountain next to the bell you rang after beating Whiteclad Noble. Interact with the wolf skin hanging on the tree. It vanishes, and you receive your first Vessel: the Fireproof Mantle. This little red number grants temporary fire immunity, which makes the upcoming Black Bear Guai fight far less like volunteering for a pyrotechnics accident. A new icon appears at the bottom of the screen next to your spirit transformation metre.
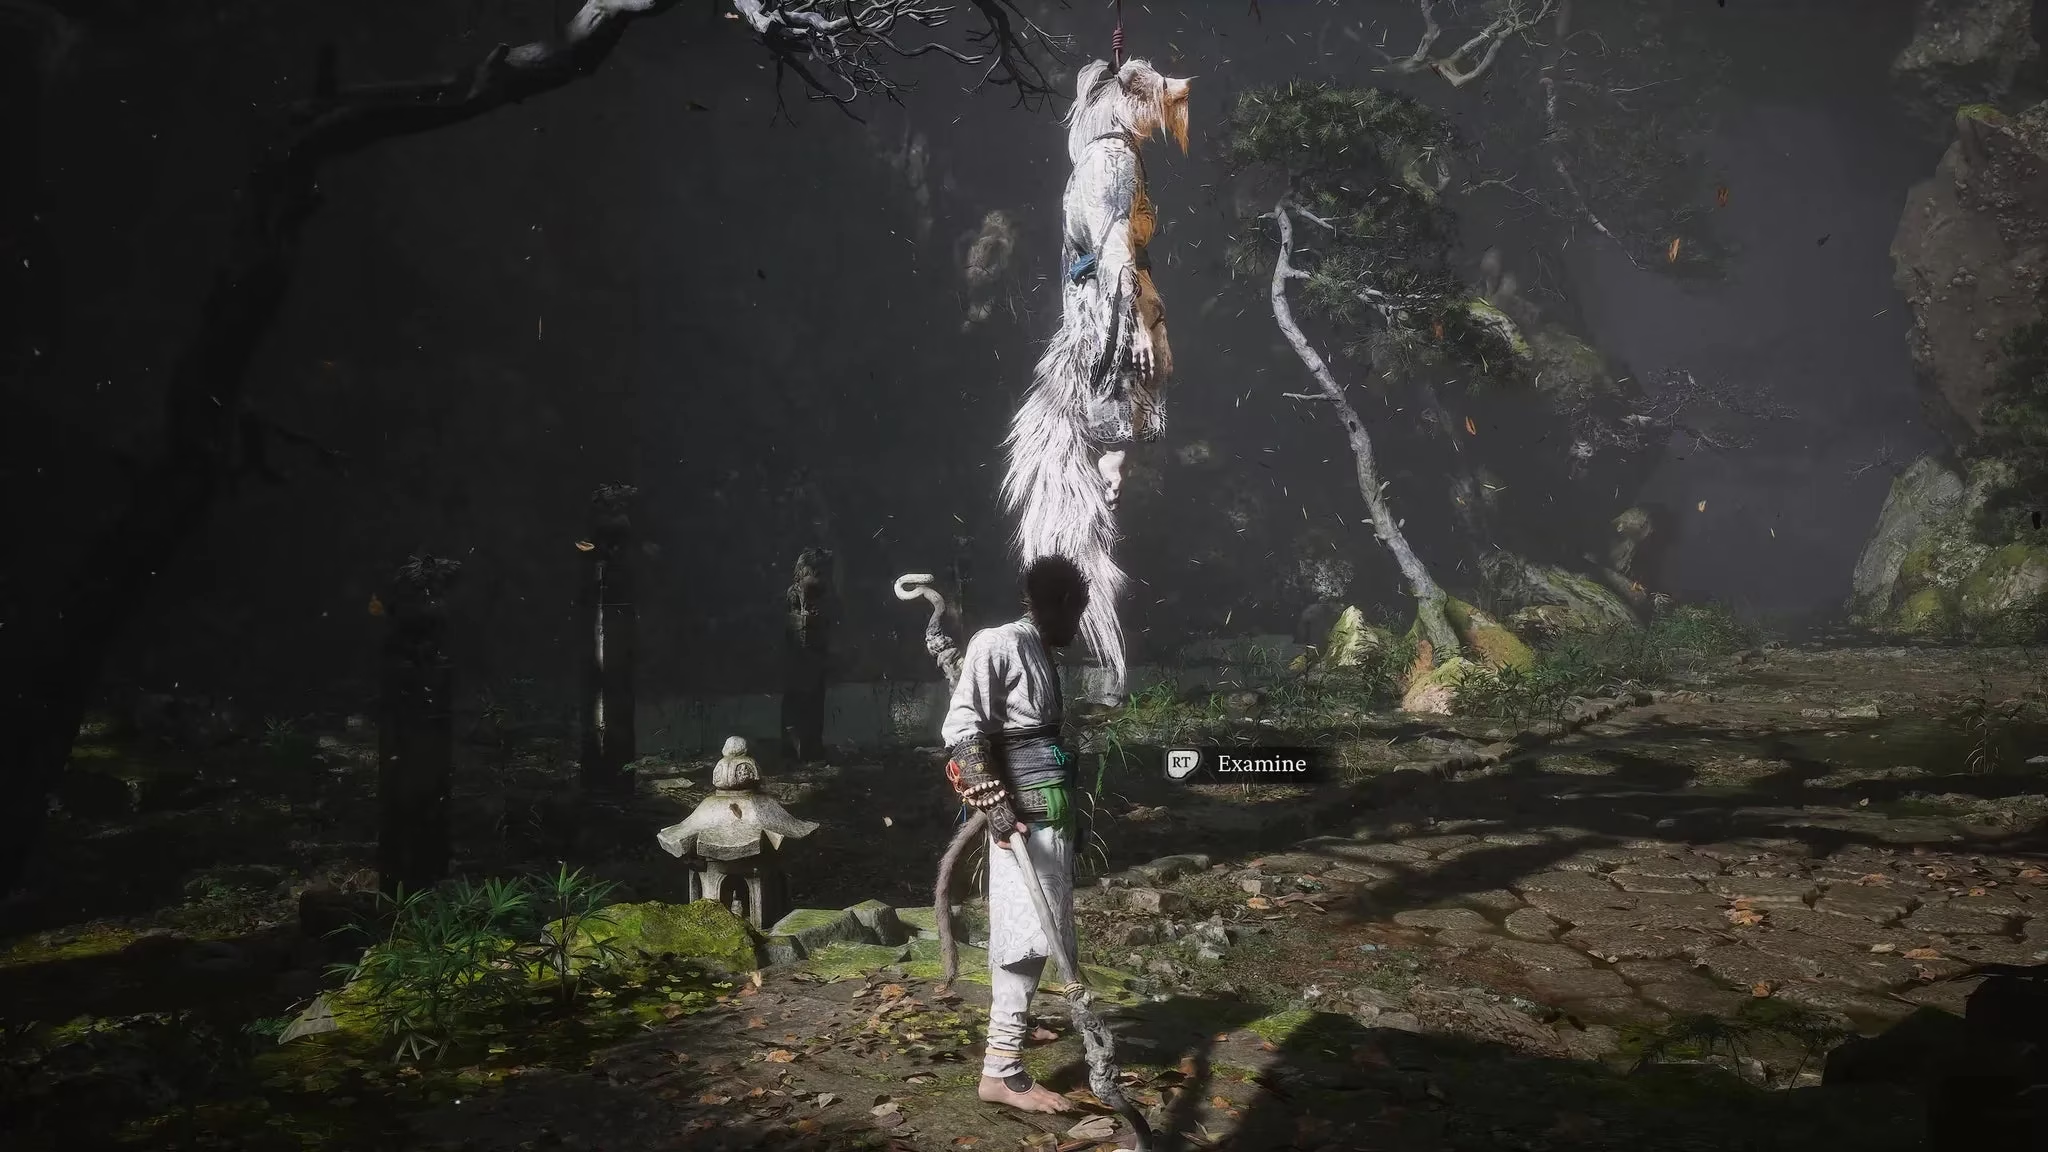
Curiously, this old fraud gives no XP, but he does drop 2000 Will. Once you visit a shrine, you can also craft the Bronze armour set, boosting both defence and fire resistance for the chapter's finale. So yes, the detour is worth it. Just remember to stretch, bring snacks, and maybe send a thank-you card to whatever monkey god decided a secret boss should look like a golden garden gnome with a PhD in pain.